The Louder-Version Trap: How to Judge an Audio Fix Fairly
A repeatable way to compare raw and cleaned AI audio without letting extra gain, familiar labels, or a dramatic plugin interface make the decision for you.
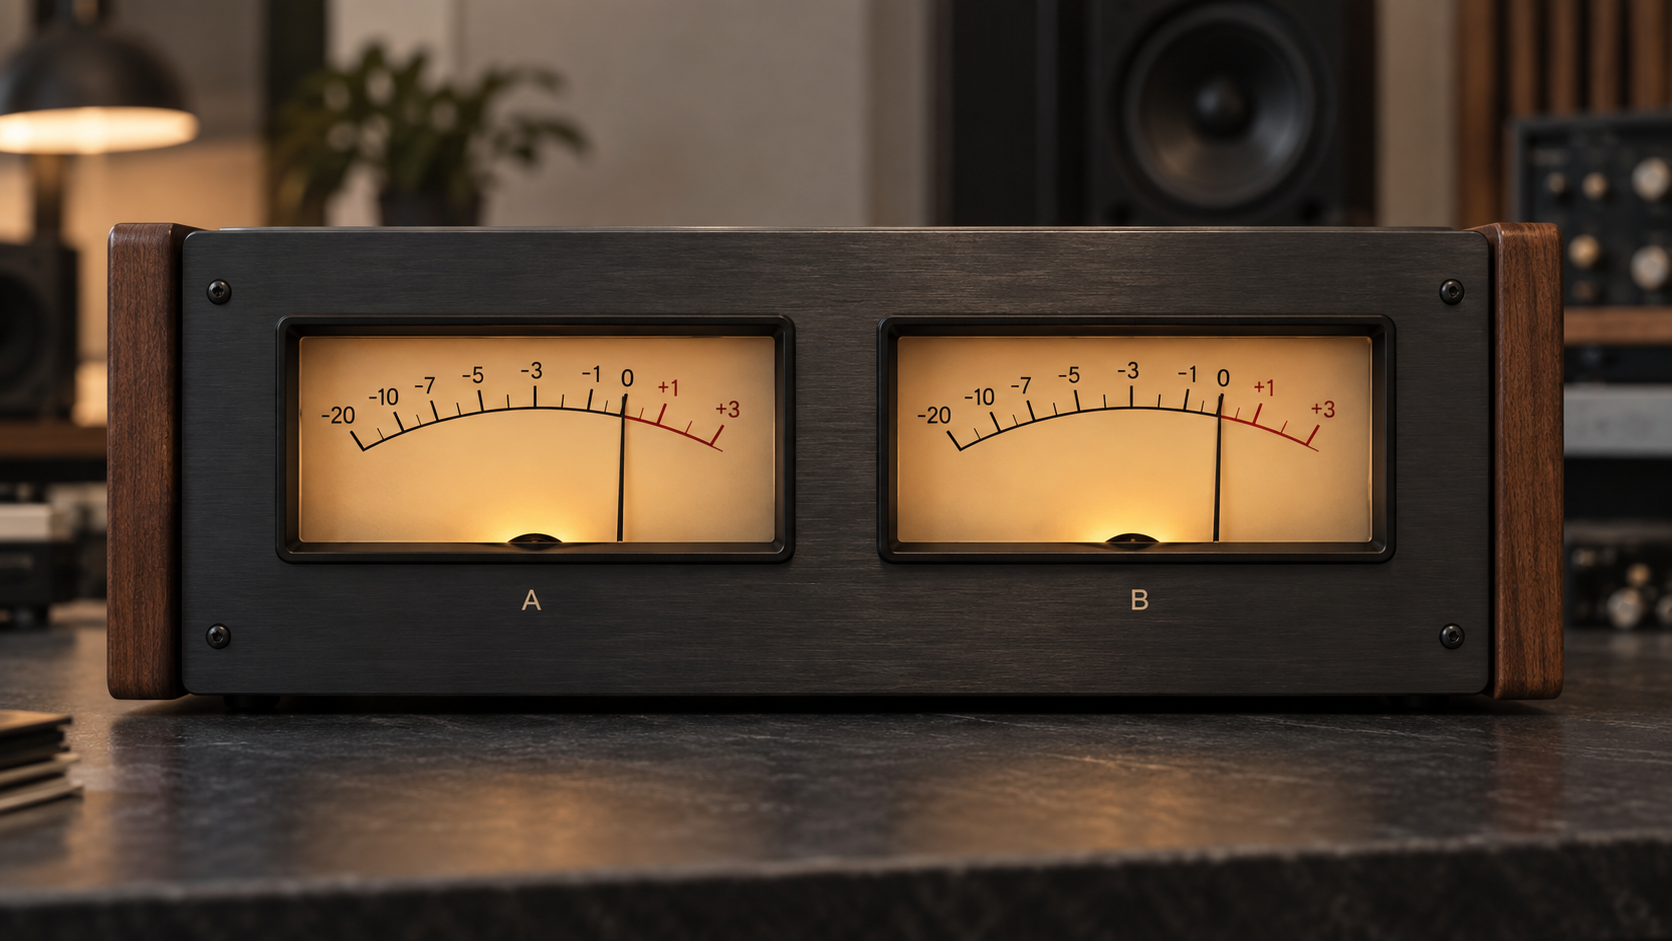
You bypass a cleanup plugin and the processed version feels wider, clearer, and more finished. That reaction may be real. It may also come from 0.8 dB of extra output gain—enough to make the bass and top end feel more present while hiding a softer snare attack or a shortened reverb tail.
The mistake is not having ears you cannot trust. It is asking those ears to compare two moving targets. A fair before-and-after test holds the excerpt, timing, monitoring level, and switching method steady. Only the processing changes. Once loudness and expectations are controlled, you can hear whether the repair removed a distraction or merely traded it for different damage.
If you still need to name the dominant problem, start with the 30-second triage workflow. The protocol here begins after you have one proposed fix and one untouched baseline. It does not tell you which plugin looks smartest. It tells you whether the result earns its place.
01 / Remove the loudness vote
The Psychoacoustics of Louder: Why Your Brain Lies to You
Human hearing does not respond equally at every frequency or playback level. Equal-loudness contours describe how bass, midrange, and treble need different sound-pressure levels to feel equally loud. As monitoring level rises, low and high frequencies often seem more substantial. A small level increase can therefore be mistaken for deeper bass, cleaner air, or greater detail even when the tonal balance has not improved.
That does not mean every 1 dB difference guarantees the louder version wins, or that one famous curve predicts an individual decision. It means level is a confounding variable. If a processor adds makeup gain, the comparison now asks two questions at once: “Do I prefer this treatment?” and “Do I prefer this louder?” Level matching removes the second question well enough for a practical studio decision.
Aggressive cleanup can exploit the same illusion unintentionally. Broadband denoising may flatten a hi-hat transient, smear the edge of an acoustic string, or create a watery tail. Compression or output gain then raises the remaining material. The result arrives louder and denser, so the first impression is confidence; after matching level, the missing attack and motion become easier to hear.
Monitor at a repeatable, comfortable level. Very loud playback makes fatigue and high-mid sensitivity part of the verdict, while very quiet playback may hide low-end or tail problems. Do not adjust the monitor knob between A and B. Lower is often useful because it stops impact from overwhelming detail, but the exact room level matters less than keeping it unchanged.
Control rule
Change only the version selector during a pass. If you also change monitor level, loop position, solo state, or processing output, restart the comparison.
02 / Make A and B comparable
The 3-Step Level-Matching Protocol
Set up two aligned tracks: the untouched export and the processed version. Confirm that both start at the same sample or transient. Disable any automatic normalization, master-bus effect, or player setting that treats one file differently. Then choose the short section most likely to expose both the intended repair and its side effects.
Step 1: Match Integrated Loudness within 0.2 LUFS
Measure the exact loop on both tracks with the same loudness meter. Integrated LUFS is useful when the excerpt is long enough to include its changing energy; short-term LUFS can be steadier for a short repeated passage. Reset the meter before each measurement. Adjust only the processed track’s output or a dedicated trim until the difference is no more than about 0.2 LUFS.
Do not normalize each file to a streaming target. This is a comparison trim, not mastering. Peak values may differ after processing, and that is useful evidence: a limiter can produce greater average loudness with the same peak ceiling. If LUFS metering is unavailable, use the same RMS meter and loop for both files, then fine-tune by ear without looking at the labels.
Step 2: Instant Blind A/B Switching
Route A and B to the same monitoring path and use one key command or a dedicated comparison control to toggle without a pause. Avoid clicking separate solo buttons slowly; the silence between versions weakens the audible comparison and can reveal which track is which. Check polarity and latency so the switch does not create a click or timing jump that becomes an accidental clue.
Now hide the track names or ask another person to randomize them. Run at least five short passes and record only A, B, or no preference. Blind does not mean mysterious or scientific theater. It means the label “processed,” the plugin price, and the attractive analyzer animation do not get a vote.
Step 3: The 4-Bar Loop Discipline
Use four bars as a practical starting point: long enough to contain a musical phrase, short enough to remember its attack and decay. Pick a busy chorus if cleanup may hurt cymbals or vocal consonants. Pick a quiet tail when distinguishing steady hiss from moving metallic shimmer; the quiet-tail listening test explains that diagnosis in detail.
Listen for one question per pass. First ask whether the target defect receded. Next ask whether the groove changed. Then focus on vocal edges, tails, and stereo position. Whole-song comparisons encourage attention to wander and make small differences feel like mood. A loop turns a vague impression into a repeatable check.
03 / Count the cost
The Collateral Damage Scorecard
Artifact reduction is only half the result. Log what the processor removes and what it takes with it. Use plain descriptions tied to a timestamp; “better” is not useful later, while “snare attack softer at bar three” tells you exactly where to revise the threshold.
| Checkpoint | Listen for after processing | Damage signal | Next action |
|---|---|---|---|
| Drum attack | The first edge of kick and snare | Impact turns soft, papery, or late | Raise the threshold or reduce processing depth |
| Reverb tails | A smooth decay into silence | The tail pumps, chatters, or stops abruptly | Lengthen release or narrow the active band |
| Vocal detail | S, T, breath, and sustained vowels | Consonants lisp or the voice gains a rough edge | Use a dynamic band or automate isolated events |
| Stereo image | Stable instrument position and center focus | Sides collapse, wander, or become hollow | Reduce stereo processing and check mono |
| Target artifact | The exact hiss, shimmer, mud, or burst named first | No repeatable reduction at matched level | Bypass the processor and reassess the diagnosis |
Mark each row as pass, revise, or fail. A “pass” does not require perfect removal; it means the defect is less distracting and the musical cost remains smaller than the benefit. “Revise” means the method is promising but too deep or too broad. “Fail” means the untreated version preserves the song better.
Stop when additional reduction begins to change the identity of the source. Leaving a little metallic edge behind can be the correct trade if the alternative removes cymbal air. Leaving light room-like texture can be better than a vocal tail that closes like a gate. Cleanup is successful when attention returns to the song, not when the spectrogram looks empty.
04 / Use what you already have
Free Tools vs. DAW Workflows for Fair Comparison
Most DAWs already provide the necessary pieces: duplicate tracks, sample-aligned playback, a loudness or RMS meter, output trim, and key-command switching. Reaper can route both versions to one bus and randomize visibility manually. Logic Pro and Ableton Live can place alternatives on aligned tracks or chains, with a utility gain stage after processing. The exact screen differs; the controls are the same.
If your DAW lacks a loudness meter, a free LUFS meter can measure each loop. Dedicated blind-test plugins can randomize versions and count choices, but they are optional. Verify that any comparison plugin compensates latency and does not normalize one source differently. The simplest trustworthy setup is often two aligned tracks, one meter on a shared bus, and a single mute-group shortcut.
Minimum viable rig
Two aligned lossless versions, one loudness meter, one trim control, one instant switch, and a written scorecard are enough for a defensible comparison.
05 / FAQ
Frequently Asked Questions
Is Peak Level Matching Enough, or Do I Need LUFS?
Peak matching is not enough for a perceptual comparison. Two files can share the same maximum peak while one has much denser average energy and sounds clearly louder. Use integrated LUFS for the full excerpt, or short-term LUFS for a short loop, then confirm by ear at a comfortable monitoring level. RMS can be a practical fallback when the same excerpt and meter settings are used for both versions.
How Do I Know If My Audio Cleaner Is Actually Working?
Match loudness, hide the version labels, and switch instantly over the same short loop. A useful cleanup makes the named artifact less distracting without softening drum attacks, shortening reverb tails, narrowing the stereo image, or changing the vocal character. If you cannot identify the cleaned version reliably after several randomized passes, the processing may be unnecessary.
Why Does My Cleaned Track Sound Dull When Level-Matched?
The processor may have removed useful high-frequency detail together with the artifact, while its output gain previously disguised that loss. Reduce the processing depth, narrow the affected frequency range, or use a dynamic band that reacts only when the defect appears. Keep a little residual texture if removing the last trace costs the track its air or transient clarity.
Your next move
Make the quieter version compete on equal terms.
Duplicate one four-bar passage, align the files, and trim the processed version to within 0.2 LUFS of the raw source. Hide the labels and run five instant switches while scoring one feature at a time. Then apply that discipline across the five-test audio cleaner audition. Keep a tool only when it wins without shrinking the groove, tails, voice, or stereo image.
Run the protocol